Cleaning the baby’s bottle is one task that should be taken with a lot of caution. An infant’s immune system is weaker than that of an older child making him more susceptible to infections. If a bottle is not cleaned thoroughly, it can be a source of deadly microorganisms leading to various infections and diseases.
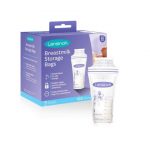
There are different types of baby bottles, including disposable bags, plastic, and glass, each having their best cleaning technique. At this point in the child’s life, you are uneasy and worried about what you are putting into your little one’s mouth. Is it safe? Is it clean? If you are a mother feeding your little one with formula or expressed breast milk and wondering if you are maintaining high standards of hygiene, you have come to the right place.
If you are a new mom, probably, you will want to know different ways of how to clean baby bottles and which of them are best for you. Each method is applied with the proper equipment, and you must always keep the bottle clean. The baby’s cries that wake you up in the middle of the night are treacherous, and things can become worse if you don’t have a clean baby bottle. That’s why you need to learn how to clean and store baby bottles properly for later use.
The Cleaning of Baby Bottles
Equipment for feeding your little one includes the nipple, the containers’ caps, and rings that go together with them. Other types of bottles also have valves or membranes. Some infants can’t suck, so they should be fed with items like medical cups, syringes, and spoons.
back to menu ↑The Importance of Cleaning Baby Bottles
Ensuring high standards of cleanliness for this equipment is crucial. If the items are not cleaned well, microorganisms grow on the surface and may lead to infections. A thorough cleaning ensures that all the harmful germs are killed.
Infants between the ages of 0-6 months are more susceptible to infections. It’s because of their immature immune system that is weaker and cannot fight off fungi, viruses, and bacteria like for older kids.
Different Options to Clean a Baby Bottle
There are various methods of cleaning a baby bottle. The first one is to wash it using a dishwasher. Ensure you remove the silicone nipple to avoid it from getting damaged. It is preferable to wash nipple using hands. Place the bottles on the racks facing upside down, away from high temperatures to prevent them from melting. Also, make sure they are secure to avoid falling during washing.
The second option is scrubbing them with a baby bottle brush. You wouldn’t want to drink from a dirty cup with residues of milk from the previous night. It is disgusting! So why should your little one do it? Scrubbing ensures that all traces of residues are removed, making it easier for other processes of cleaning.
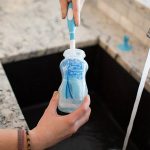
You can also go back to the old-fashioned way – washing with your hands. Do not clean the bottle in the sink directly; you should rather utilize a container. Use hot water to clean the utensils. Pour boiling water into the baby bottles and whirl a baby bottle brush inside until they are clean.
Wash the rest of the items and, finally, pour running water to get rid of all the soap. A nipple brush is used for cleaning the nipple holes and nipples. Scrub and squeeze out the hot water, then finally rinse off the soap with running water.
back to menu ↑Additional Stuff Needed to Clean Baby Bottle
Additional items to help clean your little one’s bottle include dishwashing liquids precisely used for baby bottles. They are specifically designed to suit the safety needs of your baby. Such products are non-toxic and leave no residue on the bottle. Other additional items are bottle brush and bottle sterilizers to ensure that no germs will survive.
back to menu ↑Instructions on How to Clean a Baby Bottle
Now that you understand why it is necessary to clean a baby bottle, so let’s discuss how to do it exactly. You should follow these steps.
back to menu ↑Scrub the Baby Bottle
Undoubtedly, it is the easiest method. The best bottle brush is the one that reaches deep into the container and removes all residues.
Bacteria tend to hide in the nipple and nipple hole, so you require a nipple brush that cleanses the nipple thoroughly.
It is usually much safer to have a separate brush for your bottles to avoid contamination from other utensils. Dishes that taste or smell like soap are not appealing and may cause problems for the infant, so you should use unscented soap. Rinse them with running water to wash off all the soap.
- Put warm soap water inside a container
- Separate all the baby bottle parts and soak them in the water
- Using a bottle cleaner, scrub the bottle, nipples, and other parts
- Rinse the pieces in warm water
- Do a final rinse with running water to get rid of all the dirt and soap.
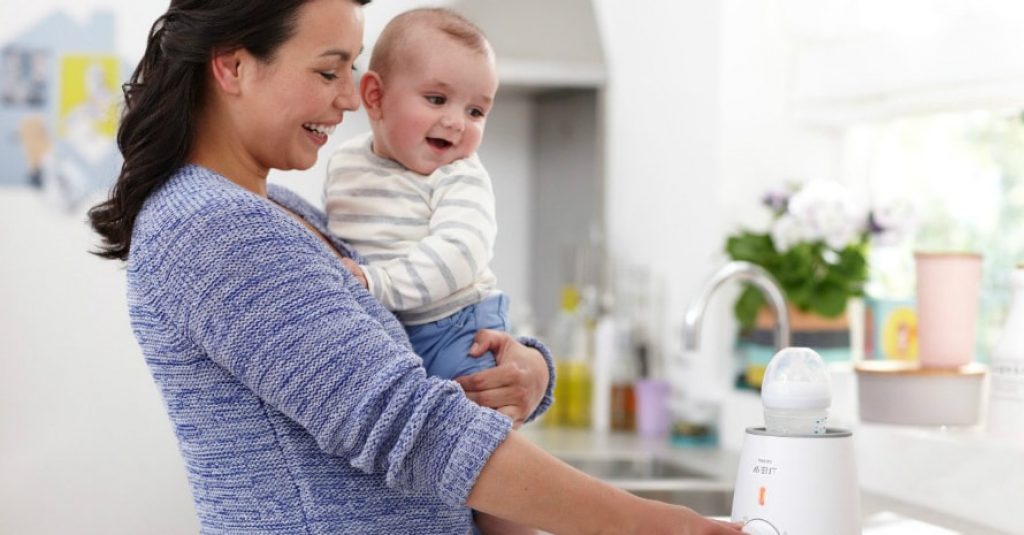
Sterilizing the Baby Bottle
Sterilizing helps kill all harmful germs sticking to the interior walls. A bottle sterilizer is essential during the child’s first twelve months. It applies both for expressed milk and infant formula. Wash your hands before cleaning. There are different methods of bottle sterilizing like boiling, steam sterilizers, chemicals, and microwave sterilization.
back to menu ↑Boiling
This method is simple, reliable, and straightforward. But it’s better to use all items within the first 24 hours after washing them. Also, it is much safer to boil the bottle at night, especially if you have other kids to avoid accidents. Here’s what you should do.
- Put all the items in a big cooking pot.
- Fill water to the brim so that everything is fully immersed, and bubbles are not visible.
- Place your pot on your source of heat and leave it to boil for 5 minutes.
- Let the pieces cool off until you can take them out with your hands.
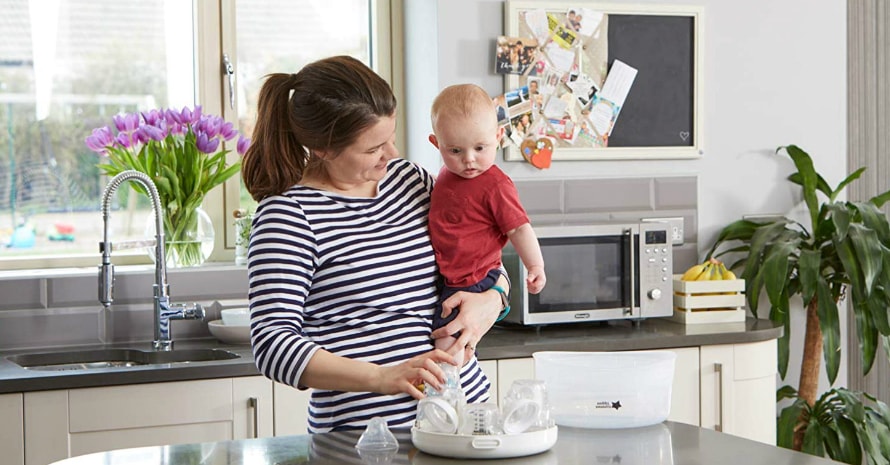
Steam Sterilizers
Steam sterilizers are self-regulating units that will steam your baby bottles at a very high temperature to get rid of germs. There are various kinds of sterilizers on the market. Read the manufacturer’s instructions and follow these steps.
- Ensure that the utensils are clean before you start.
- Place them with their openings facing downwards inside the device.
- Add water to the device and turn it on.
- Leave the pieces inside until when needed.
- If you don’t need the pieces immediately, check the manufacturer’s instructions to see how long you can let them stay inside the sterilizer before you have to redo the process.
Chemicals
Liquid and tablet antibacterial chemical solutions can also be used to eliminate bacteria in your baby bottles. They are diluted in water in a proportion that is safe and just enough to be effective.
Strictly follow the instructions when mixing the solutions to ensure that they have the right composition. Also, make sure it’s out of reach of kids and use glass or plastic containers to mix the solutions.
- Ensure that all the parts are completely clean before you start.
- Follow the instructions to mix the sterilizing solution.
- Immerse everything in the solution and leave it in for the time advised in the instructions (approximately for half an hour).
- Alternatively, you can let the items stay in the solution, until when needed.
- Take the baby bottles off the solution and drain off the excess liquid, but don’t wash it out with water.
- Wash the sterilizing container properly in warm soapy water before mixing a fresh batch.
Sterilize Baby Bottles in Microwave
Putting the pieces in the microwave is an ideal option that will undoubtedly kill germs. Most microwaves can hold up to 6 baby bottles, so you don’t have to worry about using too much electricity. The microwave has been proven to kill 99.9% of bacteria in 2 minutes.
- Make sure your bottles are thoroughly clean.
- Put water in a jar (make sure that the container can fit the microwave).
- Place the clean pieces in the container filled with water.
- Place the container inside the microwave.
- Turn on your microwave.
- Heat it up for about 2-5 minutes.
- Remove the container from the microwave and let it cool.
Allowing the Bottles to Dry
Before storage, you need to ensure that valves, bottles, nipples, etc. are all dry. There are various ways of drying them up. You can choose to air dry them, put them on a rack, or stand.
A drying rack will come in handy because it drains all the water effectively. A stand comes with pads under it to keep the surfaces dry. It is also separated into pieces and is convenient for storing and holding all the pieces of the baby bottle as well as pacifiers, nipples, and bottle brushes. Also, they should be left to air dry for some time, and then stored.
back to menu ↑Storing the Bottles
The final step is to find a completely dry place to keep all the items. You can reorganize your pantry to find space for them. It should be a convenient space that you can easily reach.
You should clean it each time before placing any clean equipment to provide high standards of hygiene. Separate different items. For example, put all the nipples in one container and the other parts in another different container. Arrange the bottles as you like.
back to menu ↑Cleaning Baby Bottles
Cleaning your baby’s bottles require a lot of work. However, with these easy tips, you don’t have to worry about spending too much time on washing them. How do you clean your little one’s bottles? Which tips work for you, and which methods don’t? Share your thoughts in the comment section below!